Well, it's finally here! That promised post revealing our new kitchen! First off, I am not a photographer, so yeah. We'll leave it at that, ha ha. Secondly, here is the post that inspired the kitchen--jennasuedesign.blogspot.com. I love her house and I loved her kitchen so much that it became the jumping point for us. I am not an incredibly creative person so having a visual of something someone else did was great! I even found out her paint color and got it matched at ACE. Thirdly, remodeling takes a LONG time. We started doing major stuff in May and now here we are the end of September! We aren't officially done done done with the kitchen, but that is okay. Those other projects will wait till later. Thankfully they're very patient.
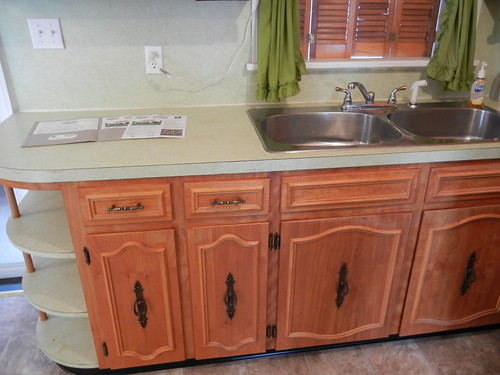
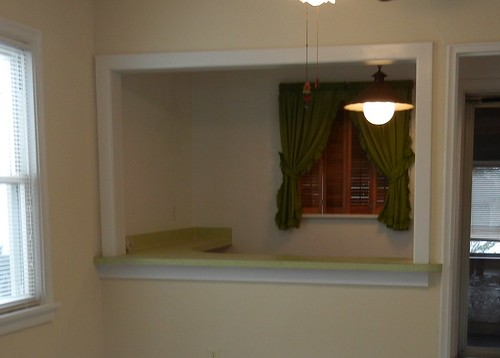
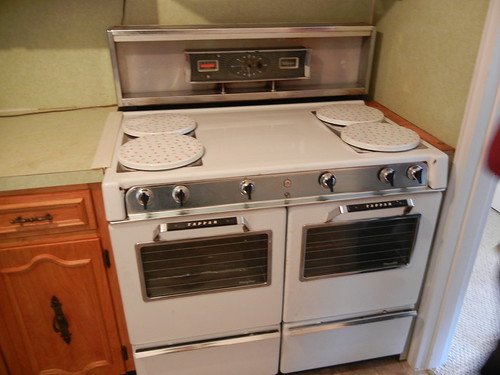
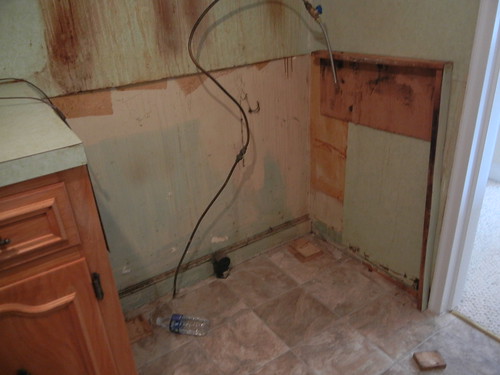
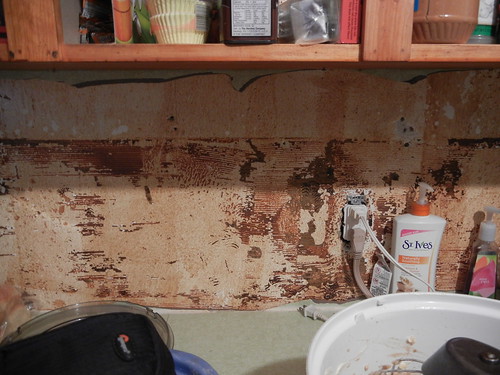
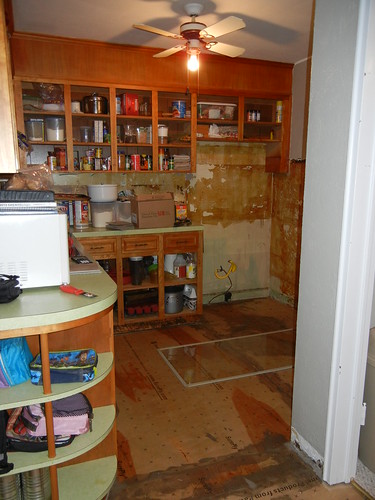
Before:



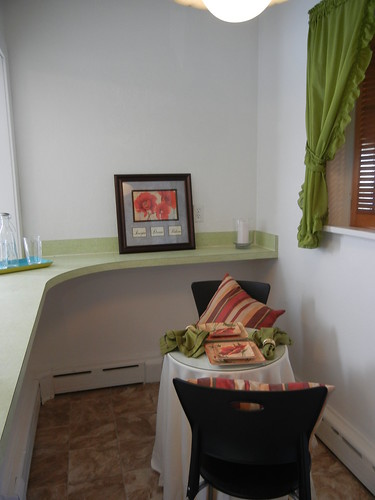
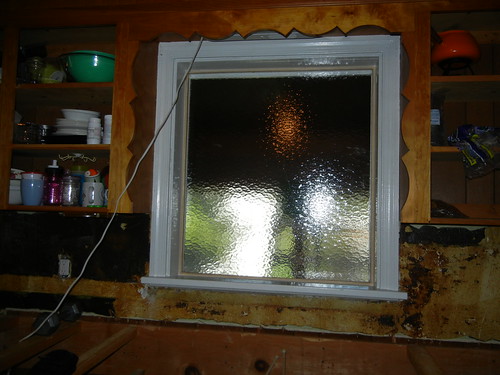
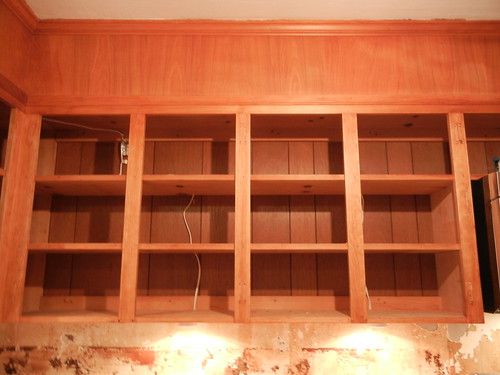
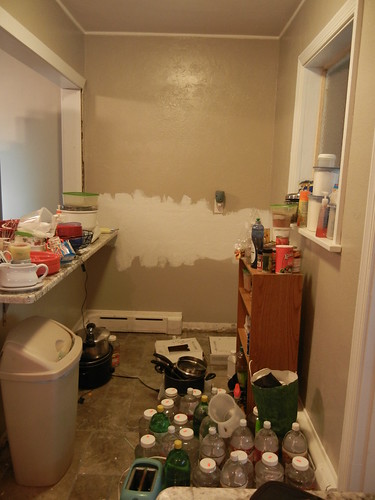
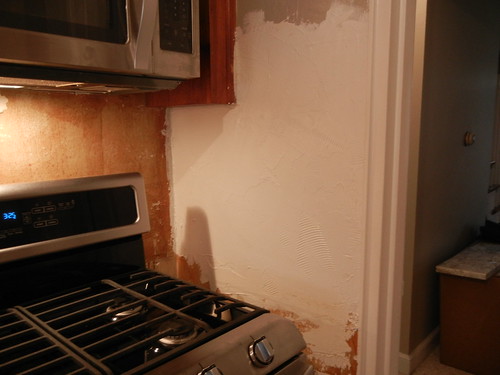
Remodel:
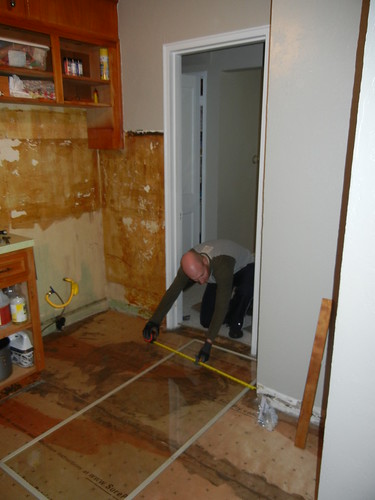
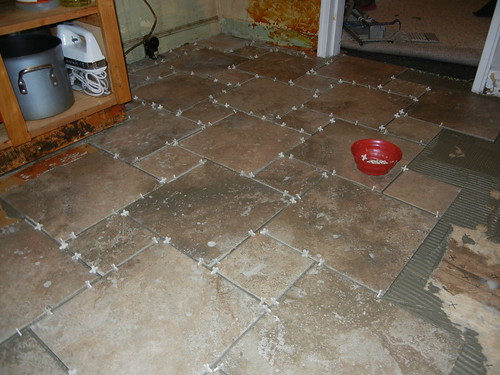
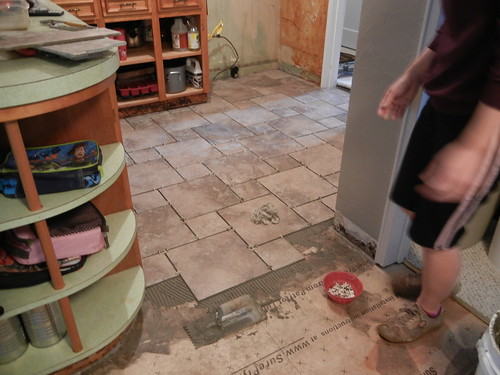
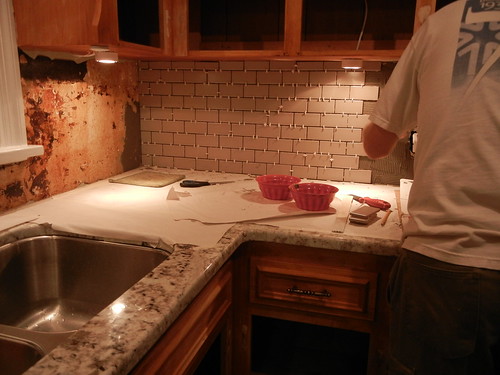
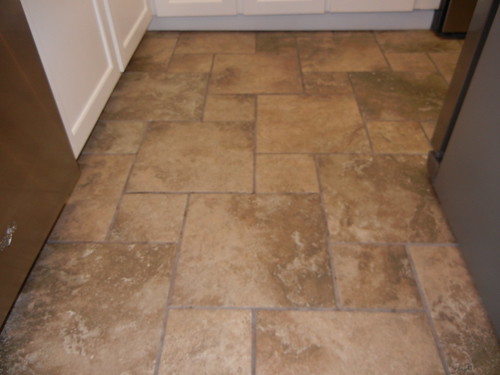
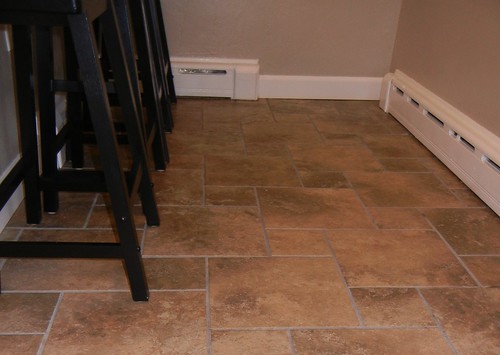
That piece of paper taped to the counter saved us a lot with trying to follow the pattern. It was a tricky one. We were really pleased with how the floor turned out it being our first ever tile project and all. Thanks Lynn for inspiring us that we can do projects like this!
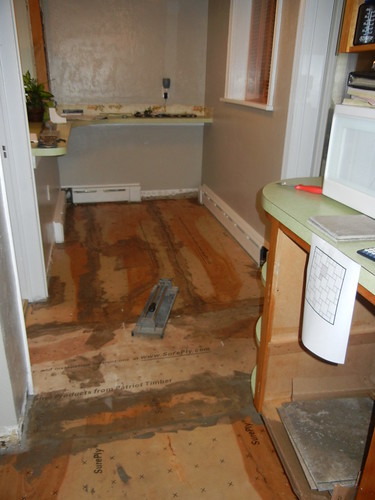
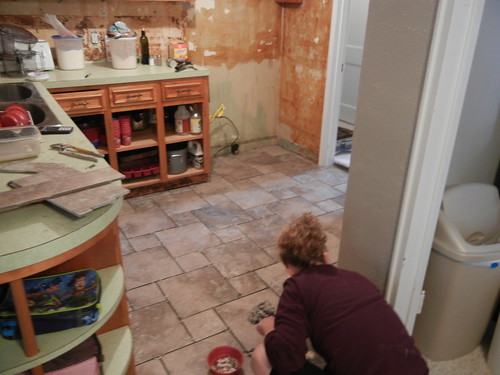
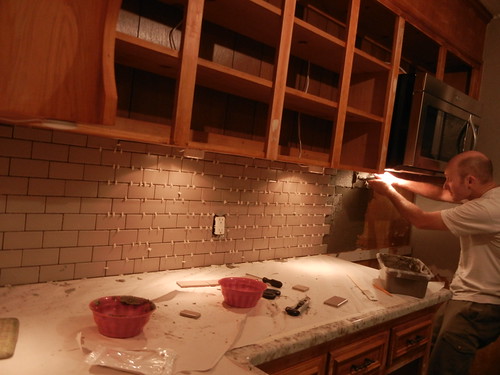
I mainly take pictures of Lee doing stuff as he is AMAZING and does most of the work. But I helped out too and even measured and cut several tiles myself!
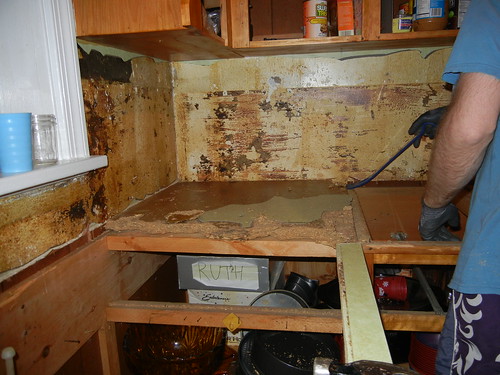
Lee ripped out the old counters. I think this actually was one of the hardest projects.
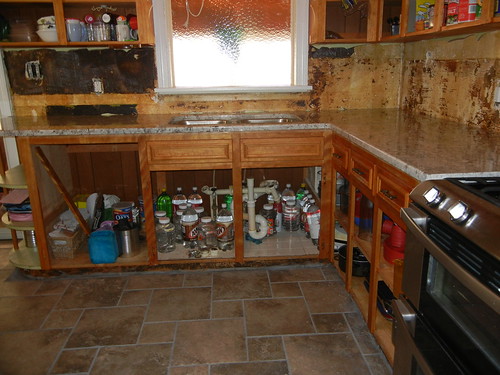
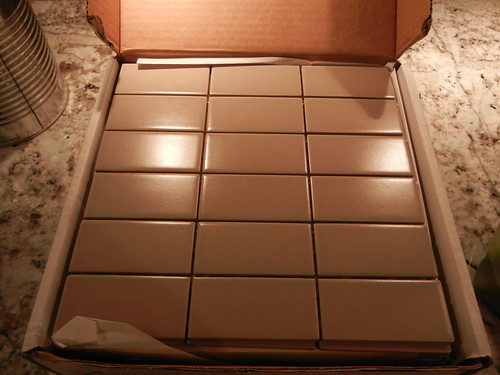
The tiles came in a sheet like this. We wanted a subway tile look so Shanna and I cut them into single rows.
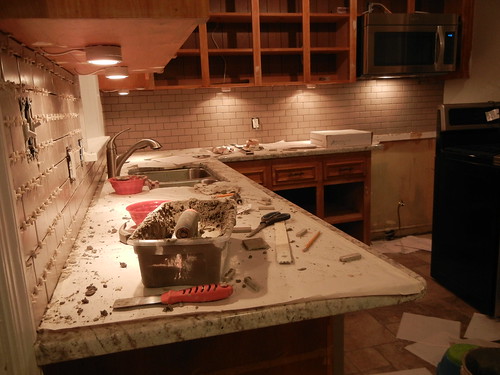
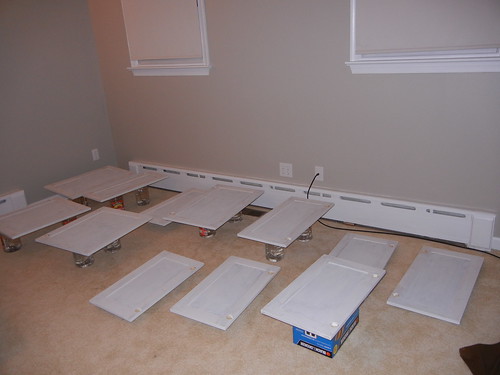
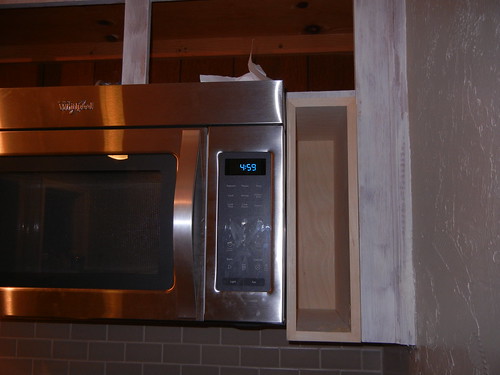
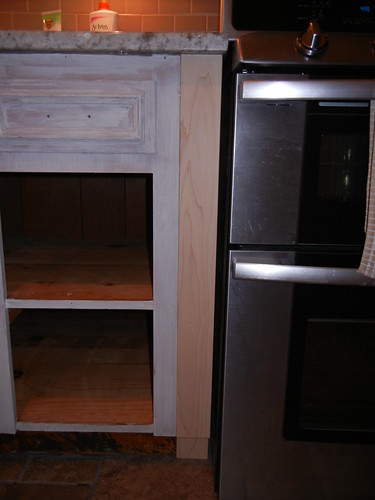
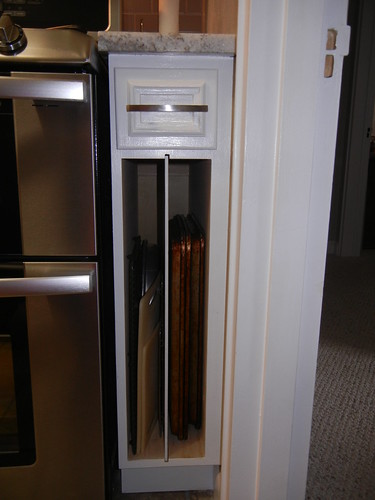
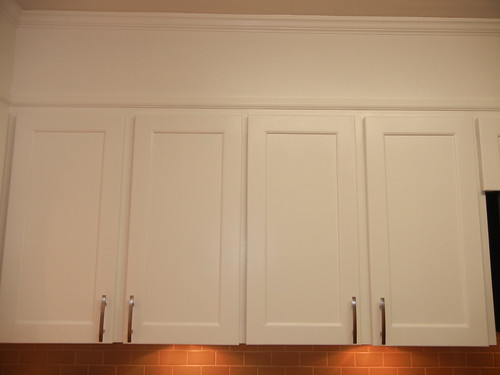
Our friend Rick made these great doors for us! Thank YOU!!! I read a few things online about painting cabinets. Mine did not turn out perfect, that's for sure, but they do look fine. I really like what centsationalgirl teaches about painting cabinets, like in this tutorial.
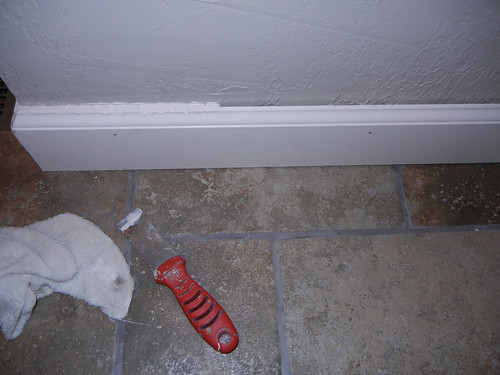
So many little projects in a kitchen....


After:

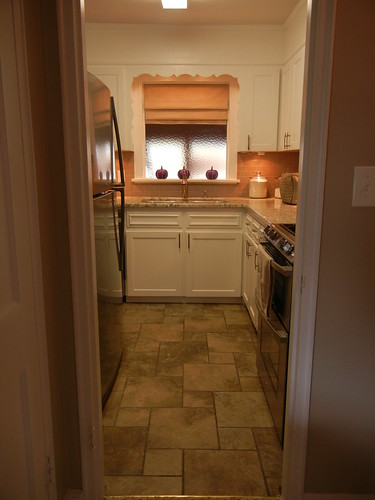
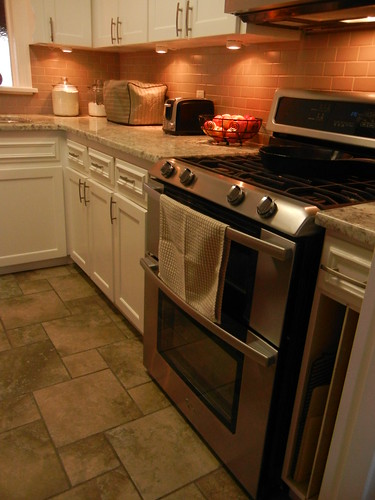

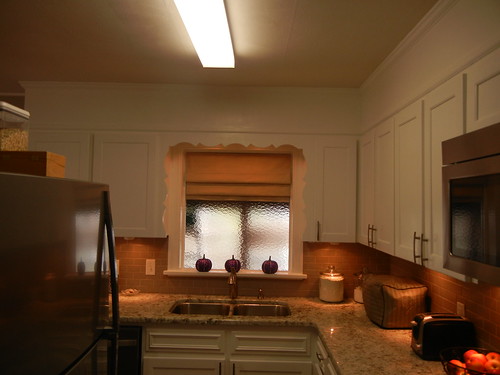
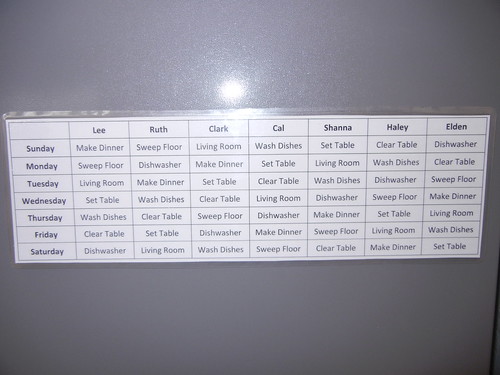
Here's the official daily job chart.
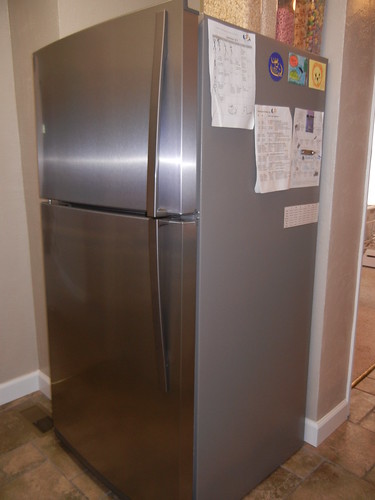
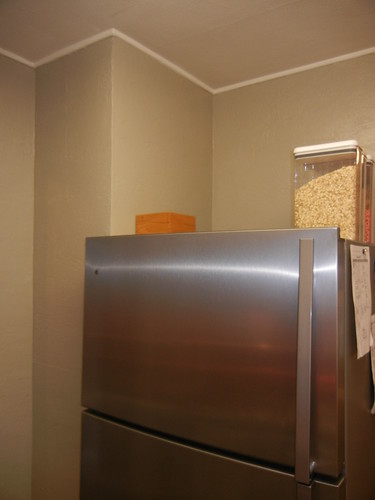
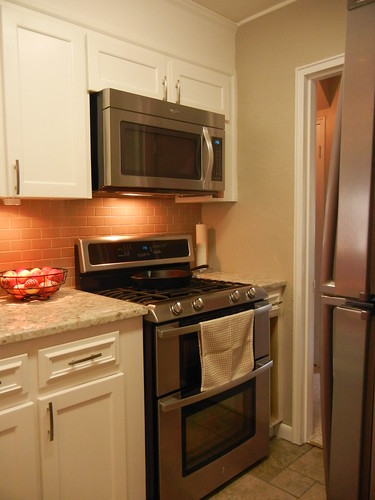
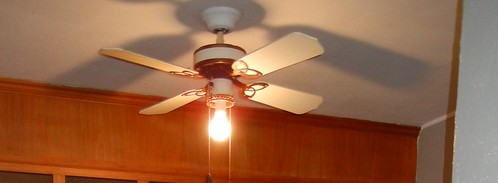
Love the new light Lee installed!!!

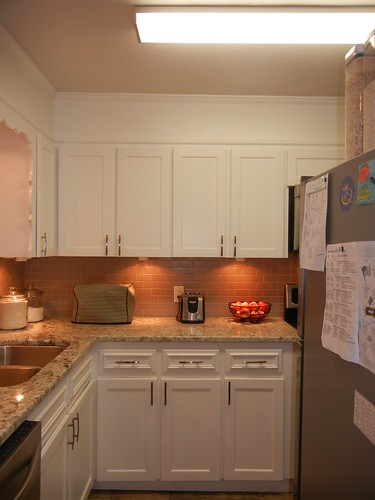
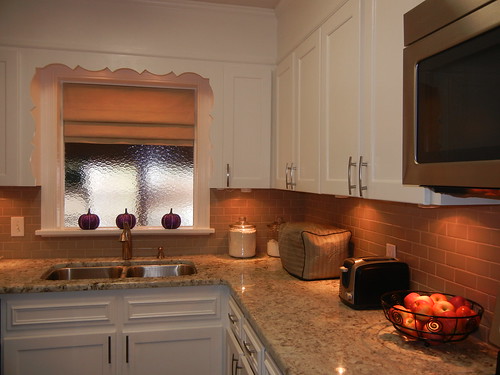
I made this cover for my Bosch. Sorry, no tutorial, but it did turn out fine.


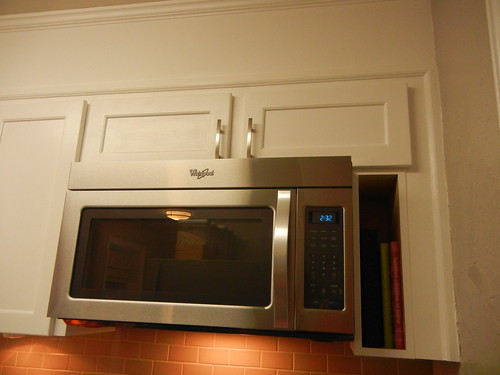
I LOVE the under cabinet lighting. It's not recessed of course, but that works fine as we need all the cupboard space we can get. The kitchen is pretty small. The touch pad on the left is how you turn the lights on and off. Just touch it. And you can do three different strengths of light settings.

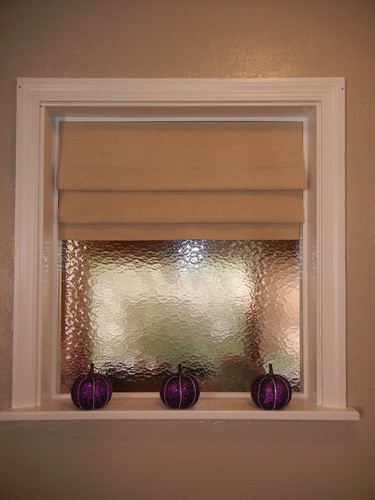
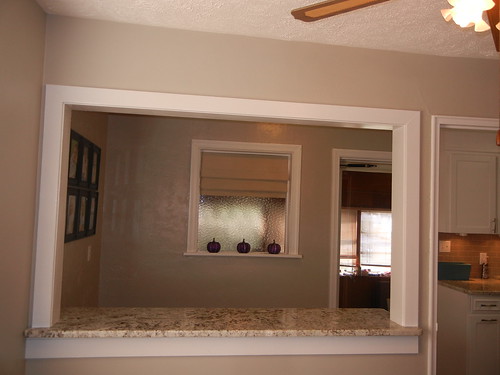
I made two roman shades. I need to adjust the bottom right corner.... Here is where I got the tutorial for the shades: shanty-2-chic.com
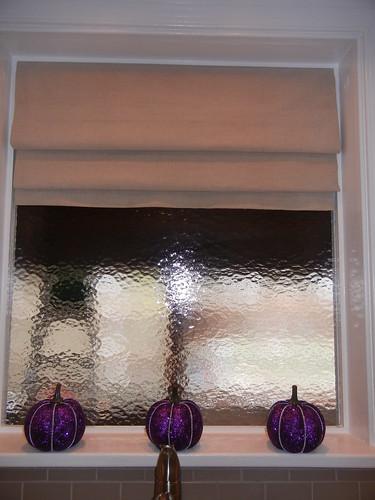
I was going to have the guy that did the extra pieces of cabinetry to cut off the swooping wood trim. But I completely forgot to ask him. Maybe some other day.
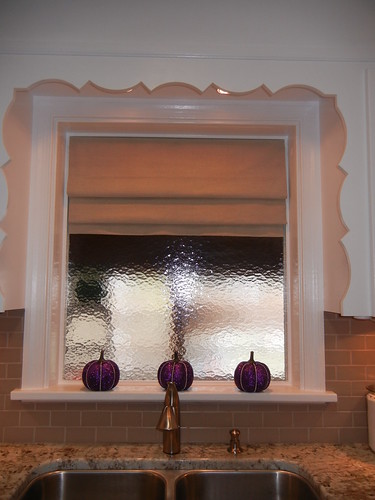
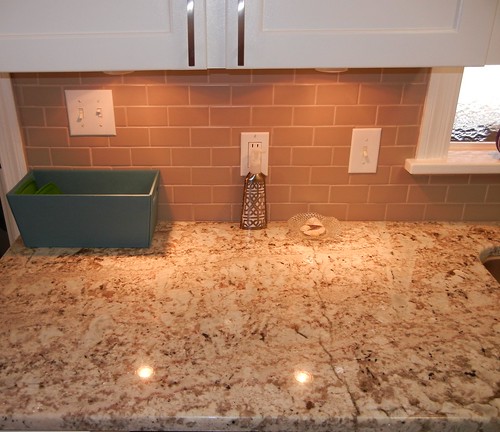


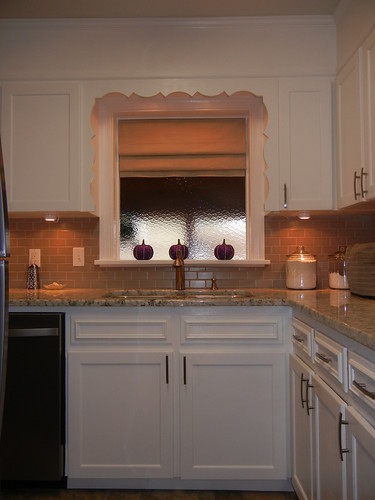
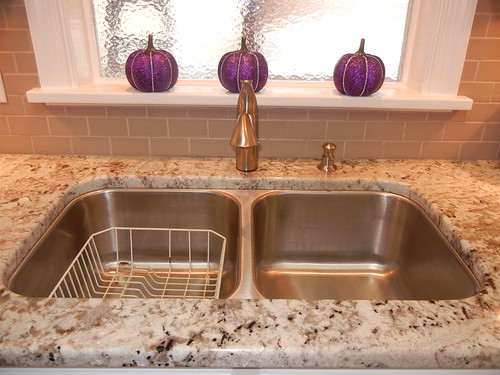
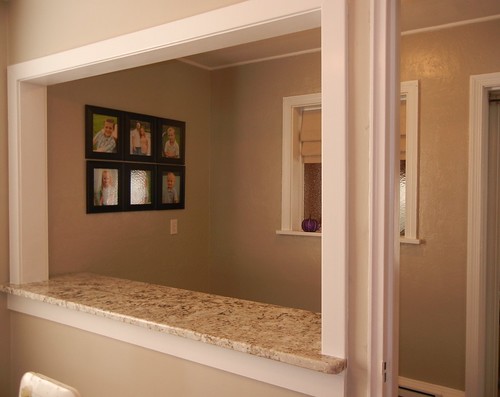
I am not an accessorizer. I think it looks great when people can do it well, but this is really the first time trying my hand at it. I definitely need some practice!
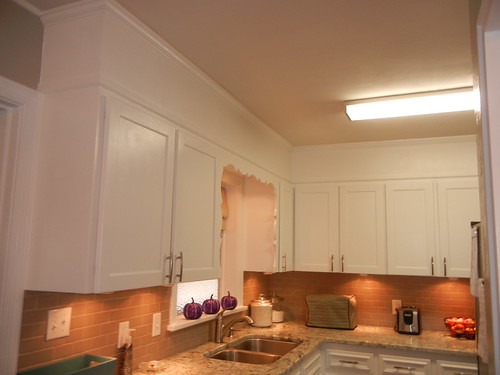
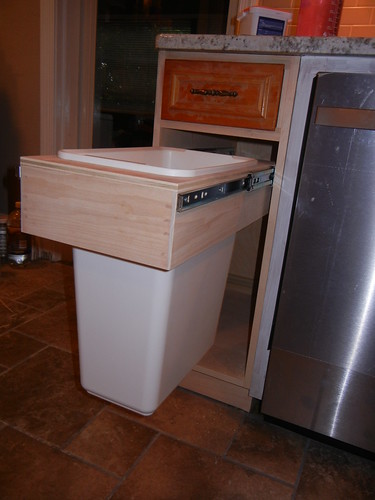
I LOVE my garbage drawer. I knew I wanted one and I knew I would like it and it hasn't disappointed!

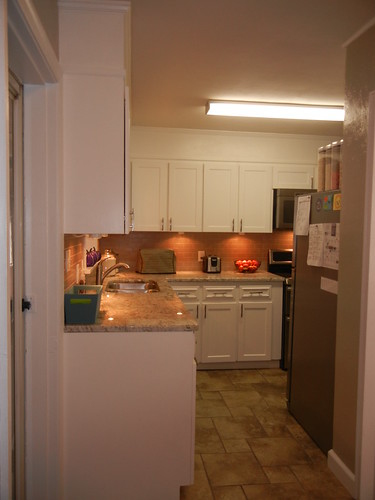

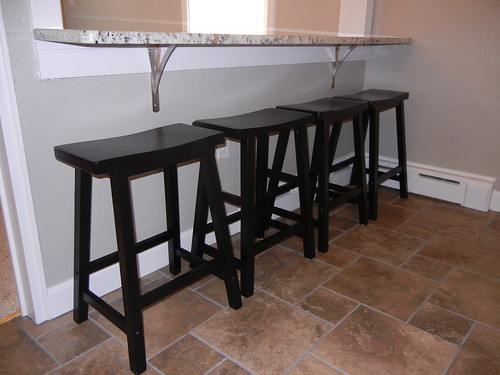

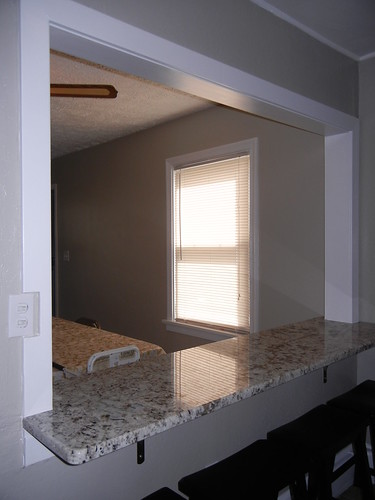
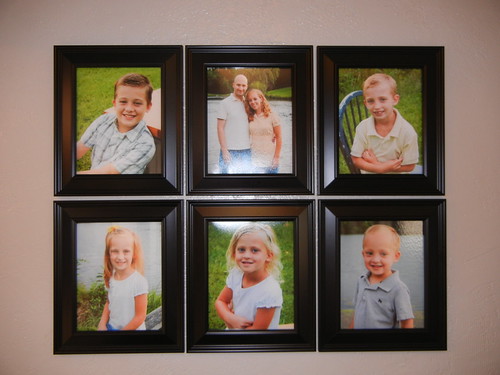
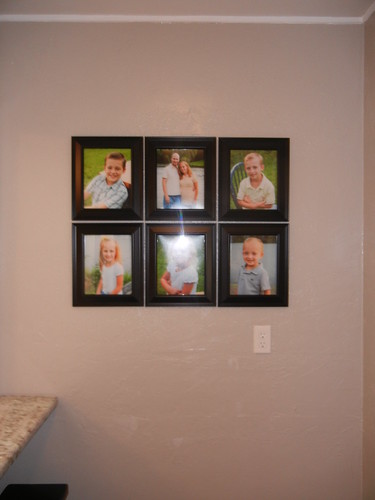


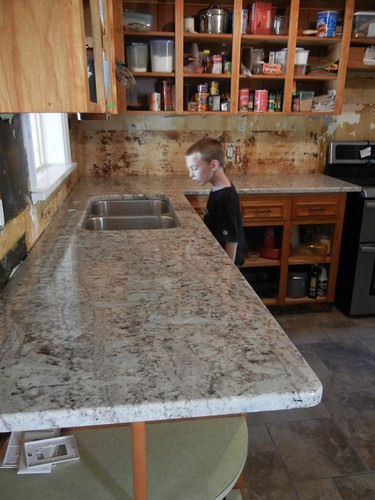
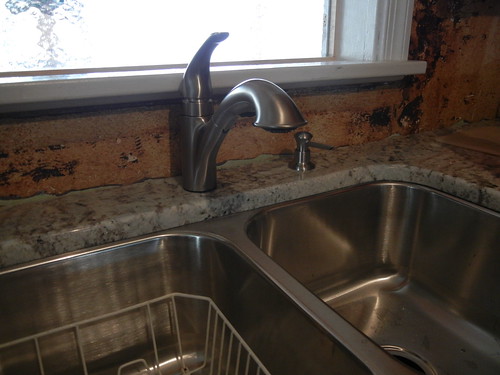
Love how the backsplash turned out!

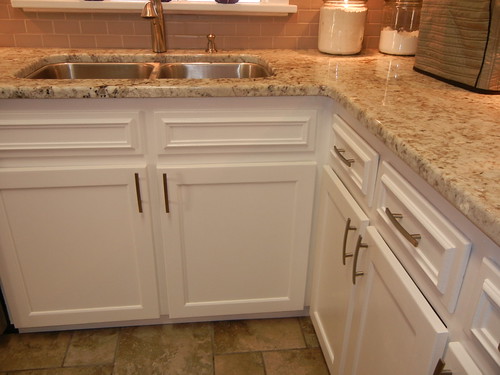
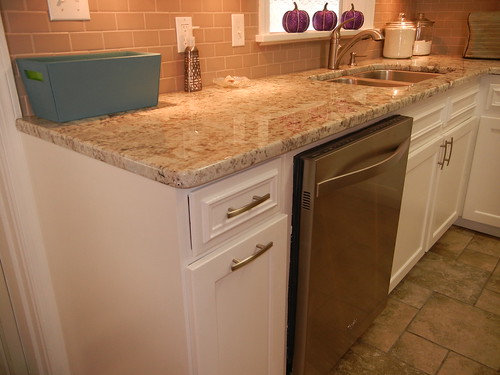
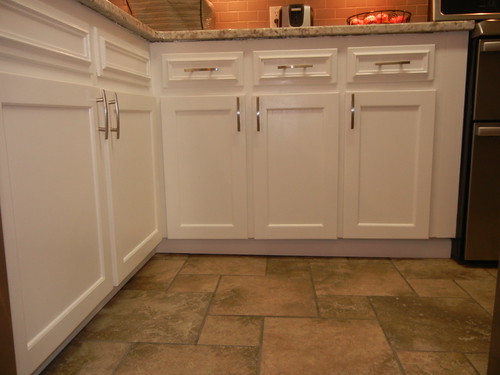
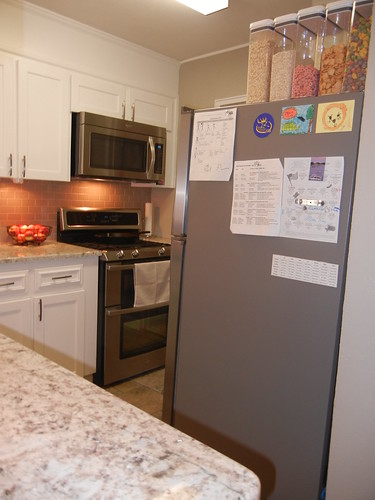
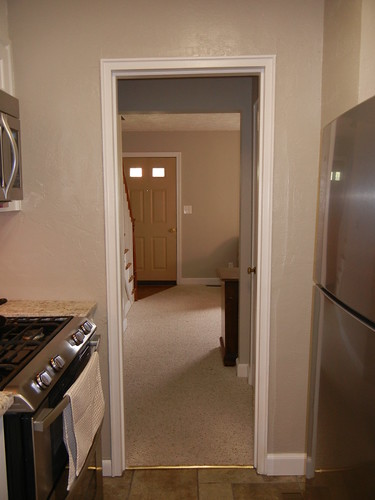
The floors in some of the pictures might not look like they go with the kitchen super well, but they look great in real life, promise.
There you go! Hope you enjoyed the pictures! We are working on the family room right now. We'll see when that gets done. Based on our track record, it may take awhile!
Before:


Remodel:


That piece of paper taped to the counter saved us a lot with trying to follow the pattern. It was a tricky one. We were really pleased with how the floor turned out it being our first ever tile project and all. Thanks Lynn for inspiring us that we can do projects like this!


I mainly take pictures of Lee doing stuff as he is AMAZING and does most of the work. But I helped out too and even measured and cut several tiles myself!


Lee ripped out the old counters. I think this actually was one of the hardest projects.


The tiles came in a sheet like this. We wanted a subway tile look so Shanna and I cut them into single rows.


Our friend Rick made these great doors for us! Thank YOU!!! I read a few things online about painting cabinets. Mine did not turn out perfect, that's for sure, but they do look fine. I really like what centsationalgirl teaches about painting cabinets, like in this tutorial.

So many little projects in a kitchen....


After:


Here's the official daily job chart.


Love the new light Lee installed!!!


I made this cover for my Bosch. Sorry, no tutorial, but it did turn out fine.


I LOVE the under cabinet lighting. It's not recessed of course, but that works fine as we need all the cupboard space we can get. The kitchen is pretty small. The touch pad on the left is how you turn the lights on and off. Just touch it. And you can do three different strengths of light settings.

I made two roman shades. I need to adjust the bottom right corner.... Here is where I got the tutorial for the shades: shanty-2-chic.com

I was going to have the guy that did the extra pieces of cabinetry to cut off the swooping wood trim. But I completely forgot to ask him. Maybe some other day.


I am not an accessorizer. I think it looks great when people can do it well, but this is really the first time trying my hand at it. I definitely need some practice!

I LOVE my garbage drawer. I knew I wanted one and I knew I would like it and it hasn't disappointed!


Love how the backsplash turned out!


The floors in some of the pictures might not look like they go with the kitchen super well, but they look great in real life, promise.


There you go! Hope you enjoyed the pictures! We are working on the family room right now. We'll see when that gets done. Based on our track record, it may take awhile!



17 comments:
Looks GREAT Ruth & Lee. Good job. Can't wait to see it in person.
It looks sooooo good!!!!!!!!
YAY!!! So fun to see the before and after! I have been really excited to see all of the pictures of your kitchen redo. It looks great!
How do you keep yourself from lying on the floor and stroking your beautiful, beautiful tile? (Or standing next to the backsplash and doing the same?) Seriously gorgeous kitchen! I'm so impressed.
It looks amazing!! Love the new containers you got for everything!
Looks great. I love your Bosch cover and roman shades. Great job guys!
Love it! Can't wait to come visit.
It looks so so awesome! Way to go. I especially love the pics of the fam (and everything else of course too). So great!!
That looks like a GAZILLION hours of work!!!!!!!!! And a mom can't function with her kitchen in pieces. What a labor of patience, man oh man, it doesn't even look like the same PLACE!!!!!!!!!! It is so so so so pretty. I don't think I would have the dilligence/patience/work ethic to do it. Amazing amazing. The swoopy wood is the only thing that dates the kitchen but by the time you get it removed heck, it might be back in style!!!! We have one of those in our home we own in Winston and I always wanted to cut it off!!!
It's so pretty! Great choices and execution! Good job =)
Love it! You guys did a great job! I always love a good before and after post! Can't wait to see the rest of the house ;)
It looks so great Ruth!!! I'll bet you are beyond thrilled to have your kitchen back. Makes me want to get started on our kitchen. Then again, maybe not. :)
It looks amazing Ruth! I'll bet you are beyond thrilled to get your kitchen back! Makes me want to get started on our kitchen remodel....or not. :)
Oh my word, it looks AWESOME!!!!! Good work, guys!! I love it, I love it! :)
Beautiful! You guys did an amazing job! I'm so impressed!!!
maren
Hey Ruth, I read this before but sorry I didn't comment before. I came back to look at your granite again. It all is so amazing! You did a great job and are an inspiration for me to do it too with our kitchen. I don't think I saw your same granite at Ital but I think I'll go back and show them a picture because yours is really what I want too. Maybe they can get some more in. Wouldn't that be funny if we ended up with the same granite, and white cabinets and grey tile (which is also what I'm planning on)? :)
Wow! This is such an inspiring and stunning transformation. I am so happy you shared this with me! I love the finishes you selected and it is beautiful to see your perseverance pay off!
xo,
Jen
Post a Comment